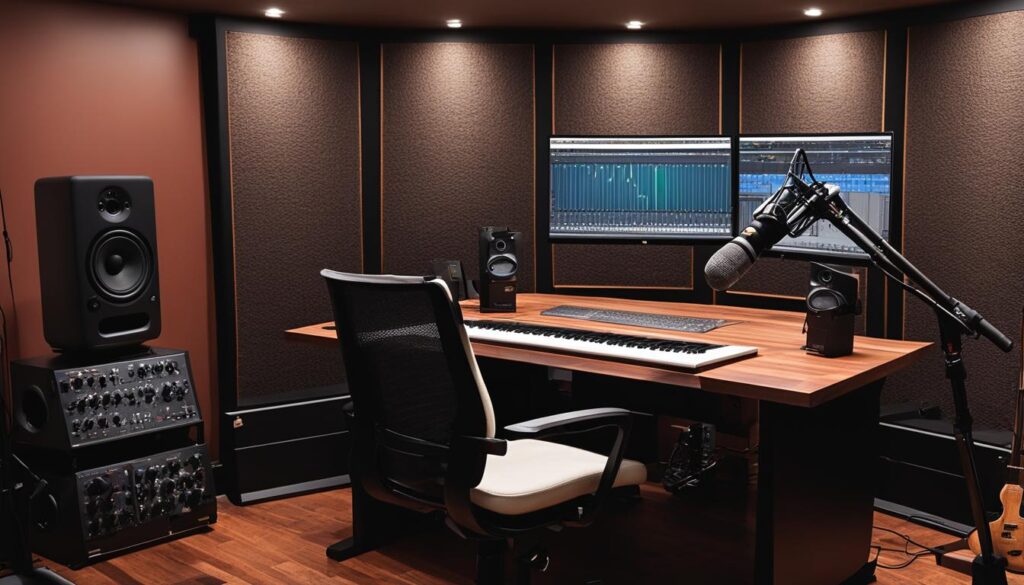
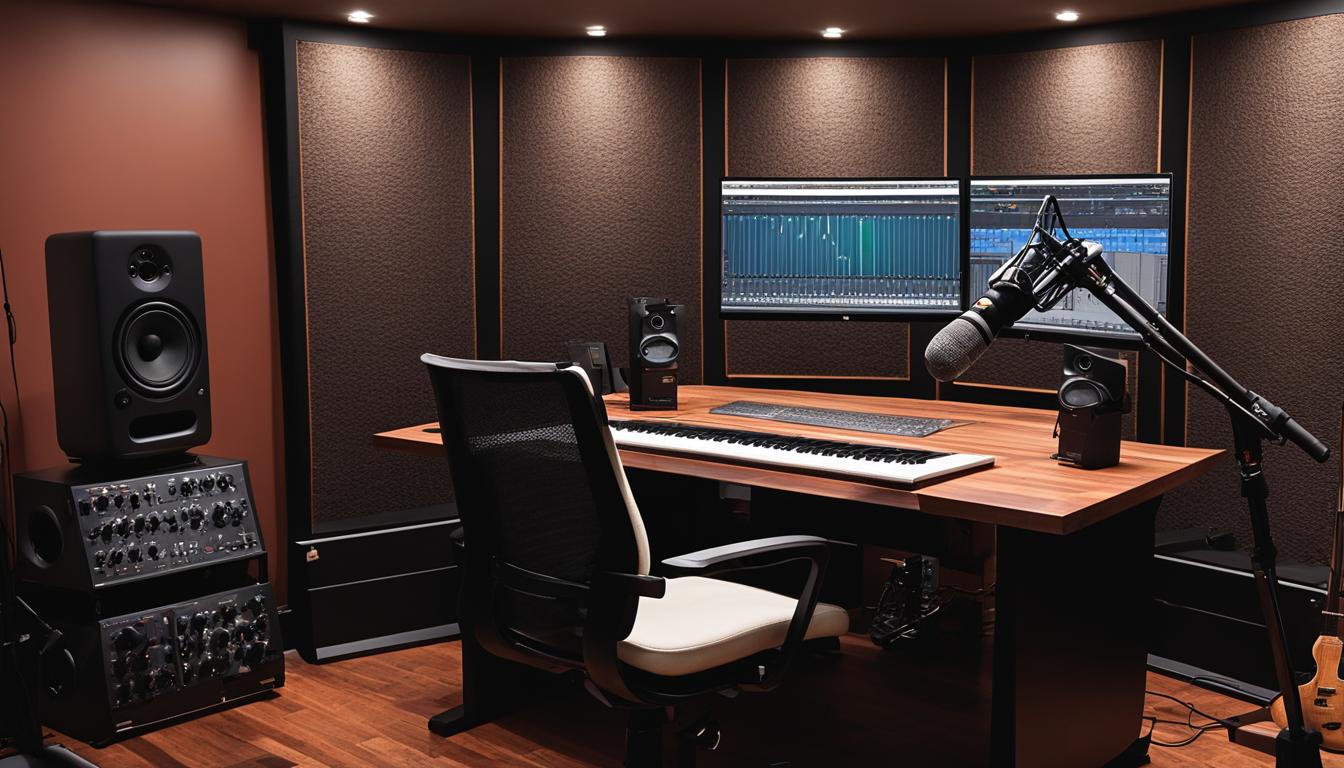
Welcome to my guide on setting up a professional home studio for audiobook narration. With the rise in popularity of audiobooks, more and more narrators are looking to record from the comfort of their own home. In this section, I will share with you some valuable tips and techniques to help you create a cozy and crystal-clear recording environment. From selecting the perfect room to managing acoustics and setting up sound barriers, I’ll cover everything you need to know to set up your audiobook narration home studio for success.

Key Takeaways:
- Setting up a dedicated space for your audiobook home studio is crucial for achieving professional-grade audio recordings.
- The ideal room for recording should have good acoustics, be well-ventilated, and have sufficient space for equipment and sound barriers.
- Essential equipment for your audiobook home studio includes microphones, headphones, audio interfaces, and more.
- Creating an acoustic-friendly environment is crucial for recording clear and pristine audio.
- Designing and setting up a dedicated recording booth within your home studio can significantly enhance the quality of your audiobook recordings.
Selecting the Right Room for Your Home Studio
Creating a perfect recording environment starts with choosing the right room. When evaluating potential spaces for your audiobook home studio, keep in mind the following characteristics:
- Size: A larger space is generally better, as it allows for better sound diffusion and prevents reflections. Ideally, the room should be at least 10×10 feet with a 8-foot ceiling.
- Shape: A rectangular or square-shaped room is ideal, as it minimizes standing waves. The room should also be free of sharp corners, as these can create acoustic problems.
- Windows and doors: A room with no windows is best, as it provides greater sound isolation. If this is not possible, choose a room with small, double-glazed windows and seal any gaps around the windows and doors to prevent sound leakage. If the door is not solid-core, consider replacing it with a new one.
- Walls, ceilings, and floors: Choose a room with thick walls and a solid floor to reduce sound transmission. Carpeted floors and textured surfaces on walls or ceilings can improve sound diffusion, but be cautious since too much texture could create unwanted reverb. To further enhance the room’s acoustics, consider adding acoustic panels or bass traps.
While it’s unlikely to find the perfect room that meets all the criteria above, try to choose a room that comes as close as possible without breaking the bank. Once you have chosen your space, it’s time to soundproof and tweak the acoustics of the room. In the next section, I will share tips on how to do just that.
Essential equipment for your home studio
Investing in high-quality recording equipment is essential for producing professional-grade audiobook recordings. Here are some of the key pieces of equipment you’ll need for a top-notch home studio setup:
- Microphones: A high-quality microphone is the foundation of any home studio setup. Look for a condenser microphone with a cardioid polar pattern, which will capture your voice with exceptional clarity and reduce background noise. Popular options include the Shure SM7B and Audio-Technica AT4053b.
- Headphones: In addition to a microphone, you’ll also need a pair of headphones for monitoring your recordings and preventing sound leakage. Look for closed-back, over-ear headphones with a flat frequency response for accurate sound reproduction, such as the Sony MDR-7506 or Sennheiser HD 280 Pro.
- Audio interfaces: An audio interface is a device that connects your microphone and headphones to your computer, providing routing and processing capabilities. Choose an interface with high-quality preamps and a low noise floor, such as the Focusrite Scarlett 2i2 or Universal Audio Apollo Twin MkII.
Other important pieces of equipment include a pop filter to prevent plosives and a shock mount to isolate your microphone from vibrations. You may also want to consider investing in a microphone stand or boom arm to achieve optimal positioning and comfort during your recording sessions.
Remember, the key to a professional-sounding audiobook is not just having top-of-the-line equipment, but knowing how to use it effectively. Experimentation and practice are key to mastering your home studio setup and achieving outstanding results.
Optimizing your recording environment
If you want your audiobook recordings to sound professional, it’s essential to create an acoustic-friendly environment. In addition to soundproofing your room, there are several other ways you can optimize your recording environment for noise reduction, improved acoustics, and overall sound quality.
Controlling external noise
Controlling external noise sources is key to ensuring a clean and uninterrupted recording. You can start by choosing a quiet room in your house, away from busy streets or other sources of noise pollution. If your budget allows, consider investing in double-paned windows or sound-reducing curtains to block out noise even further. You can also use acoustic foam or curtains to cover any gaps in your windows or doors to prevent outside noise from seeping in.
Setting up sound barriers
Setting up sound barriers is another effective way to optimize your recording environment. You can use heavy blankets, curtains, or acoustic panels to create sound barriers around your recording space, which can help prevent sound from bouncing around and causing unwanted echoes or reverb. Placing bookshelves or other large objects around your recording space can also help absorb sound and reduce background noise.
Managing reverberation
Reverberation is an acoustic phenomenon that happens when sound waves bounce off surfaces in the room and create a prolonged echo. Managing reverberation is crucial for achieving clear and concise audio in your recordings. You can use acoustic panels, foam tiles, or blankets to dampen the sound and reduce reverb. However, be careful not to over-dampen the room, as it can lead to overly dry and lifeless audio.
With these tips and tricks, you can create a comfortable, sound-proof space for pristine audiobook recordings. Remember to always test your environment before recording and make any necessary adjustments to ensure the best sound quality possible.
Setting up your recording booth
Designing and setting up a dedicated recording booth within your home studio can significantly enhance the quality of your audiobook recordings. To create a professional recording space, you’ll need to consider sound isolation, ventilation, and ergonomics.
First and foremost, you’ll need to ensure proper isolation of sound. The recording booth should be constructed with soundproof walls and a door lined with acoustic foam to prevent exterior noise from seeping in. A great option for building your recording booth is to use PVC pipes and moving blankets or acoustic blankets since they are not only affordable but also easy to install. Remember to add acoustic foam to the walls and ceilings of the booth to improve sound quality.
Secondly, proper ventilation is key as you don’t want it to get too hot or stuffy inside the booth. Consider adding a small heating and cooling system to maintain a comfortable temperature throughout the year. Keep in mind that the ventilation system should be whisper quiet to achieve a pristine sound quality.
Lastly, it’s essential to prioritize ergonomics when designing your recording booth. Ensure there is enough space to move around and that your equipment is at the right height for optimal performance. Choosing a comfortable and supportive chair is also key, to prevent aches and pains during long recording sessions.
By following these tips, you’ll be able to create a soundproof recording booth and elevate the quality of your audiobook recordings to a professional level. Don’t forget to refer to the previous sections for tips on selecting the right room and essential equipment to complete your home studio setup.
Software and Editing Tools for Post-Production
Now that you’ve completed recording your audiobook narration, it’s time to take it to the next level with post-production. There are many software and editing tools available to help you refine your recording and make it sound polished and professional.
The most commonly used audiobook editing software is Audacity. It’s a free, open-source software that works well with both Windows and Mac OS. It has a wide variety of features, including noise reduction and audio scrubbing tools. Other popular options include Adobe Audition, Pro Tools, and Logic Pro X.
When it comes to post-production tools, there are many options available for removing background noise, adding effects, and improving the overall sound quality of your recording. You can use tools like iZotope RX 7 Standard for noise reduction, DSer Vocal Limiting and De-essing for controlling sibilant sounds, and Soundly for adding sound effects and ambiance.
Don’t be hesitant to experiment with different software and tools to find the ones that work best for you. Remember, the goal is always to achieve the highest quality recording possible.
Tips for a Comfortable and Efficient Narration Experience
As a professional audiobook narrator, I know the importance of maintaining comfort and efficiency during long recording sessions. Here are some tips and techniques that have helped me improve my narration skills and stay focused in the recording booth.
1. Warm up your voice
Before you start recording, it’s essential to warm up your vocal cords. You can do this by doing vocal exercises, humming, or singing. This will help you avoid strain and fatigue during long recording sessions.
2. Stay hydrated
Drinking plenty of water is crucial for maintaining good vocal health. Make sure to keep a water bottle with you in the recording booth, and take regular water breaks.
3. Use proper posture
Maintaining good posture can help you breathe better and avoid vocal strain. Make sure to sit up straight with your shoulders relaxed and your feet flat on the ground.
4. Take breaks
Recording for long periods without breaks can lead to fatigue and reduced quality. Take regular breaks to rest your voice and stretch your body.
5. Practice pacing and breathing techniques
Proper pacing and breathing techniques can help you maintain a steady flow of narration while reducing vocal strain. Practice breathing exercises and experiment with different pacing strategies to find what works best for you.
6. Use the right equipment
Having the right equipment can make a significant difference in your comfort and efficiency during recording sessions. Make sure to use a comfortable and ergonomic chair, microphone, and headphones.
7. Stay focused
Recording can be a long and tedious process, especially when you’re narrating a lengthy book. To stay focused, try to eliminate distractions, take regular breaks, and listen to music or white noise between recording sessions.
By following these tips and techniques, you can ensure a comfortable and efficient narration experience. Happy recording!
